.webp)
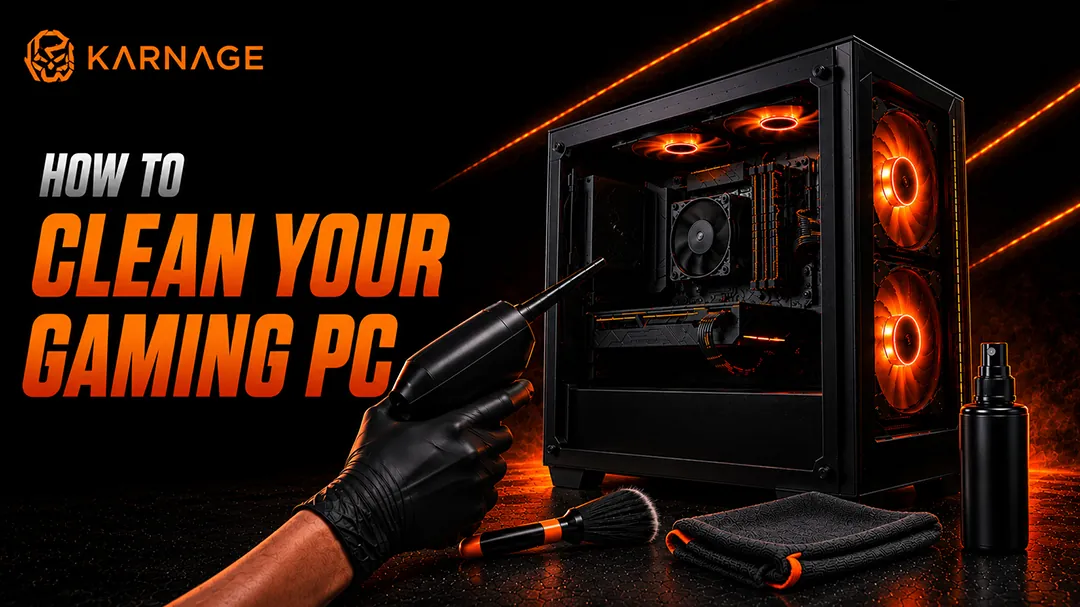
Dust is one of the biggest enemies of a gaming PC. Over time, dust, dirt, and debris can collect on your fans, heatsinks, filters, graphics card, and other components. This buildup can restrict airflow, increase temperatures, make fans work harder, and potentially affect gaming performance.
Learning how to clean gaming PC components properly is therefore an important part of regular PC maintenance. You don't need expensive equipment or professional services to keep your gaming PC clean. With the right tools and a careful approach, you can safely remove dust and maintain better airflow.
In this guide, we'll explain how to clean gaming PC components step by step, how often you should clean your system, what tools you need, what you should avoid, and how cleaning can help maintain your gaming hardware.
Table of Contents
- Why Should You Clean Your Gaming PC?
- How Often Should You Clean a Gaming PC?
- What You Need to Clean a Gaming PC
- Before You Start Cleaning
- How to Clean Gaming PC: Step-by-Step Guide
- How to Clean Gaming PC Accessories
- How to Clean Your Gaming PC Without Damaging Components
- Does Cleaning Your PC Improve Gaming Performance?
- Gaming PC Maintenance Checklist
- When Should You Replace Your Case Fans?
- Final Thoughts
- Frequently Asked Questions
Why Should You Clean Your Gaming PC?
A gaming PC constantly pulls air through its case to cool the CPU, GPU, power supply, and other components. Along with air, it can also pull in dust and small particles.
As dust accumulates, it can cover:
- Case fans
- CPU cooler
- GPU heatsink and fans
- Dust filters
- Case vents
- Power supply ventilation
- Motherboard surfaces
- Cable areas
A layer of dust can reduce effective airflow and make it harder for your cooling system to move heat away from components. Regular cleaning can help your PC maintain better airflow and reduce unnecessary heat buildup. It can also help prevent fans from becoming noisy because of dust accumulation.
How Often Should You Clean a Gaming PC?
How frequently you should clean your PC depends on your environment. For most users, cleaning the PC every 3 to 6 months is a reasonable starting point. However, systems kept in dusty rooms, near open windows, on the floor, or around pets may require more frequent cleaning.
You should also inspect your PC periodically instead of relying only on a fixed schedule. If you notice:
- Visible dust buildup
- Louder fans
- Increasing temperatures
- Restricted airflow
- Dust-covered filters
- Reduced cooling performance
It's probably time for a cleaning.
What You Need to Clean a Gaming PC
Before learning how to clean gaming PC components, gather the right tools:
- Compressed air
- A soft, clean brush
- Microfiber cloth
- Anti-static wrist strap, if available
- Screwdriver
- Clean workspace
- Small container for screws
Compressed air is particularly useful for removing dust from heatsinks, fans, and difficult-to-reach areas. Avoid using a household vacuum directly on sensitive internal components because static electricity and accidental contact can create unnecessary risks.
Before You Start Cleaning
Safety should always come first. Before opening your PC:
- Shut down the computer completely.
- Turn off the power supply switch.
- Disconnect the power cable.
- Disconnect other cables if necessary.
- Move the PC to a clean, well-ventilated workspace.
- Press the PC's power button for a few seconds after unplugging it to discharge residual power.
- Remove the side panel according to your case manufacturer's instructions.
If you're uncomfortable opening your PC or handling internal components, consider getting help from someone experienced.
How to Clean Gaming PC: Step-by-Step Guide
Now let's go through how to clean gaming PC components safely and effectively.
Step 1: Remove the Side Panel
Place the PC on a stable surface and remove the side panel. Most modern gaming cases use thumbscrews or standard screws. Keep the screws somewhere safe so you don't lose them.
Once the panel is removed, inspect the inside of the case before touching anything. Look for dust around the fans, GPU, CPU cooler, filters, and bottom of the case.
Step 2: Clean the Dust Filters
Dust filters are designed to capture dust before it reaches your internal components. Common filter locations include:
- Front intake
- Top panel
- Bottom of the case
- Power supply intake
Remove the filters if your case allows it. Depending on the filter design, you can clean it using compressed air or gently wash it with water if the manufacturer permits it. If you wash a filter, make sure it is completely dry before reinstalling it.
Step 3: Clean the Case Fans
Case fans collect a surprising amount of dust because they constantly move air through the PC. Hold the fan blades in place and use short bursts of compressed air to remove dust.
Don't allow the fan blades to spin freely at extremely high speeds from compressed air. Holding the blades gently while cleaning can help prevent unnecessary stress on the fan. If the fan is heavily dusty, use a soft brush to loosen stubborn particles and then blow them away.
This is also a good opportunity to inspect whether all your case fans are spinning correctly. For better airflow, consider whether your PC has enough intake and exhaust fans. You can also check our guide on how many case fans a gaming PC needs.
Step 4: Clean the CPU Cooler
The CPU cooler is one of the most important components to clean because it is responsible for removing heat from the processor. Dust can accumulate between the heatsink fins, restricting airflow.
Use compressed air to blow dust through the heatsink fins. If you have a tower-style air cooler, direct air through the fins rather than simply blowing dust deeper into the case. If you use a liquid CPU cooler, carefully clean the radiator and its fans.
Don't remove the CPU cooler unless you specifically need to replace the thermal paste or perform other maintenance.
Step 5: Clean the Graphics Card
The GPU is another major source of heat in a gaming PC. Dust can accumulate around the GPU fans and heatsink. Use compressed air to clean the GPU carefully.
Hold the GPU fan blades while cleaning so they don't spin excessively. Pay particular attention to the heatsink fins because dust buildup in this area can restrict airflow and reduce cooling efficiency. If you're experiencing high GPU temperatures or thermal throttling, cleaning the graphics card and improving case airflow can be useful troubleshooting steps.
Step 6: Clean the Power Supply Area
The power supply generally shouldn't be opened by the user. Instead, clean the external ventilation area and dust filter around the PSU intake. Use compressed air to remove dust from the accessible ventilation openings.
Warning: Never open the power supply itself. Internal PSU components can retain dangerous electrical charges even after the computer has been switched off.
Step 7: Clean the Motherboard and Internal Areas
Use short bursts of compressed air to remove loose dust from the motherboard and surrounding areas. You can use a soft anti-static brush for areas where dust is stuck. Avoid aggressively brushing components or applying unnecessary pressure.
Also check the areas around:
- RAM
- M.2 drives
- PCIe slots
- Motherboard heatsinks
- Cable openings
The goal is to remove loose dust without physically disturbing components.
Step 8: Clean the Gaming Cabinet
The gaming cabinet is the main airflow environment for your PC, so keeping its exterior and ventilation openings clean is important. Clean the front panel, side vents, top ventilation, rear exhaust area, and bottom dust filters. If the front panel is heavily covered with dust, airflow into the case can become restricted.
If you're looking to improve your PC's airflow or replace your current case, explore suitable gaming cabinets based on your component sizes, fan support, radiator compatibility, and ventilation design.
Step 9: Organize the Cables
While cleaning, inspect your cable management. Loose cables aren't necessarily going to cause major temperature problems, but poorly routed cables can interfere with airflow around fans and components. Try to keep unnecessary cables away from front intake fans, CPU cooler fans, GPU fans, and rear exhaust areas.
How to Clean Gaming PC Accessories
Cleaning shouldn't stop at the PC itself. Your gaming peripherals can also collect dust, dirt, and fingerprints.
Gaming Keyboard
A wireless or wired gaming keyboard can collect dust, hair, food particles, and other debris between the keys.
Disconnect the keyboard before cleaning it. Turn it upside down and gently shake out loose debris. You can then use compressed air between the keycaps. For the exterior, use a lightly damp microfiber cloth. Avoid spraying liquid directly onto the keyboard.
If you have a mechanical gaming keyboard, you may be able to remove the keycaps for a deeper clean, depending on the keyboard design.
Gaming Mouse
A wired or wireless gaming mouse can accumulate dust around its sensor, buttons, scroll wheel, and underside. Disconnect it and wipe the exterior using a microfiber cloth. Use a soft brush or carefully controlled compressed air around the scroll wheel and other gaps. Keep liquids away from the sensor and internal electronics.
Gaming Headset
Your gaming headset also requires occasional maintenance. Wipe the earcups, headband, and exterior surfaces with an appropriate microfiber cloth. If your headset has removable ear cushions, follow the manufacturer's cleaning instructions before removing or washing them. Don't spray cleaning liquid directly onto the headset.
How to Clean Your Gaming PC Without Damaging Components
Knowing how to clean gaming PC components isn't only about removing dust. It's also about knowing what not to do. Avoid these common mistakes:
- Don't Use Excessive Force: Computer components are delicate. Never force cables, connectors, fans, or components while cleaning.
- Don't Spray Liquid Inside the PC: Liquid and electronics are a dangerous combination. Use a microfiber cloth for external surfaces and appropriate cleaning methods for internal components.
- Don't Open the Power Supply: Never disassemble a PSU for cleaning. Clean only its external ventilation areas.
- Don't Let Fans Spin Excessively: Compressed air can make fans spin very quickly. Hold the blades gently while cleaning them.
- Don't Clean While the PC Is Powered On: Always shut down and unplug the computer before opening the case.
Does Cleaning Your PC Improve Gaming Performance?
Cleaning your PC doesn't automatically increase FPS. However, it can help your cooling system work more effectively.
A typical chain can look like this:
Dust buildup → Restricted airflow → Higher temperatures → Potential thermal throttling → Reduced sustained performance
After cleaning:
Clean airflow → Better cooling → More stable temperatures → More consistent performance
If your PC was already clean and temperatures were normal, you may not notice an FPS increase. However, if dust buildup was causing high temperatures or thermal throttling, cleaning can help your CPU and GPU maintain more consistent clock speeds.
Gaming PC Maintenance Checklist
A simple maintenance routine can help keep your system running smoothly.
Every Few Months
- Check case filters
- Inspect case fans
- Remove visible dust
- Clean front and top vents
- Check GPU temperatures
- Check CPU temperatures
- Clean your gaming keyboard
- Clean your gaming mouse
- Wipe your gaming headset
Every 6–12 Months
- Perform a deeper internal cleaning
- Inspect fan condition
- Check cable management
- Inspect CPU cooler and radiator
- Check for excessive dust around the GPU
- Review CPU and GPU temperatures
You don't necessarily need to replace thermal paste every year. Replace it when there is a genuine reason, such as cooler removal, degraded thermal performance, or according to the manufacturer's guidance.
When Should You Replace Your Case Fans?
Cleaning can restore airflow, but sometimes a fan itself may need replacement. Consider replacing a case fan if:
- It makes unusual grinding or rattling sounds.
- It stops spinning.
- It repeatedly fails to start.
- Its bearings are noticeably noisy.
- The fan has physical damage.
- Your case needs better airflow.
When upgrading your cooling setup, explore our high-performance case fans to keep your PC running at peak thermal efficiency.
Final Thoughts
Learning how to clean gaming PC components is one of the simplest ways to maintain your system and keep your cooling hardware working efficiently.
Regular dust removal from your case filters, fans, CPU cooler, GPU, and ventilation areas can help maintain airflow and prevent unnecessary heat buildup.
Don't forget your peripherals either. Your gaming keyboard, gaming mouse, and gaming headset can all benefit from regular cleaning, especially if you use them for several hours every day.
A clean PC isn't just about appearance. Good maintenance can help your components maintain stable temperatures, reduce unnecessary fan noise, and support consistent performance during long gaming sessions.
Frequently Asked Questions (FAQs)
1. How often should I clean my gaming PC?
For most users, cleaning every 3–6 months is a good starting point. Dusty environments may require more frequent cleaning.
2. Can I use a vacuum cleaner to clean my PC?
It's better to use compressed air designed for electronics rather than placing a household vacuum directly against internal components.
3. Can dust cause FPS drops?
Dust itself doesn't directly reduce FPS, but significant dust buildup can restrict airflow, increase temperatures, and potentially contribute to thermal throttling, which can affect sustained gaming performance.
4. Should I remove my GPU to clean it?
Usually, you can clean the GPU while it is installed. Removing it is not necessary for routine dust cleaning unless deeper maintenance is required.
5. How do I clean my gaming keyboard?
Disconnect the keyboard, remove loose debris, use compressed air between the keys, and wipe the exterior with a suitable microfiber cloth. Avoid spraying liquid directly onto it.
6. How do I clean my gaming mouse?
Disconnect the mouse and clean its exterior with a microfiber cloth. Carefully clean around the sensor, buttons, and scroll wheel without allowing liquid to enter the device.
7. How do I clean my gaming headset?
Wipe the headset's exterior, earcups, and headband with a suitable microfiber cloth. Follow the manufacturer's instructions for removable ear cushions.
8. Does cleaning a gaming PC make it faster?
Cleaning doesn't automatically make a PC faster, but it can improve cooling and help prevent thermal issues that may reduce sustained CPU or GPU performance.